Using Acetone to Prep Metal: The Pros, Cons, and Best Practices
When I first ventured into the world of metalworking and DIY projects, I found myself standing in the hardware store aisle, wondering how to get that clean, professional finish on my metal surfaces. It didn’t take long before I stumbled across acetone—a solvent that seemed to promise magic. But, like any tool in your kit, acetone has its strengths and weaknesses.
Let’s dive into the nitty-gritty of using acetone to prep metal, breaking down the good, the bad, and everything in between. I’ll also share some best practices from my own experience so you can decide if acetone is your new secret weapon.
What Exactly is Acetone?
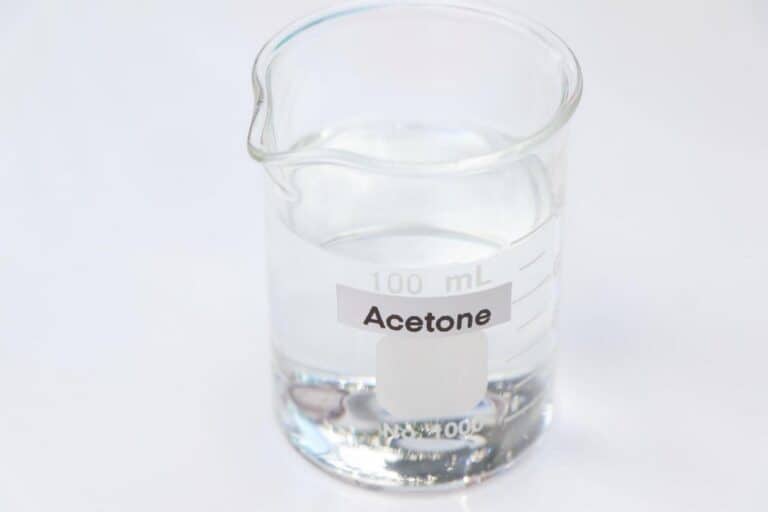
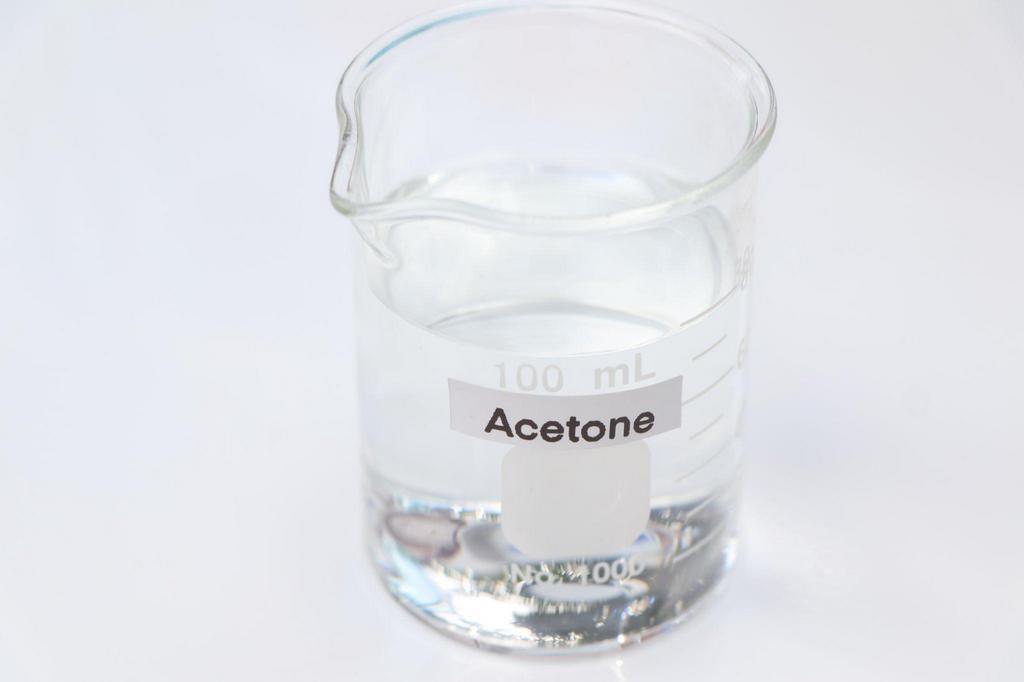
Before we dive into the pros and cons, let’s talk about what acetone actually is. Acetone is a colorless, highly flammable liquid solvent that’s known for its strong cleaning power. You’ve probably encountered it in nail polish remover, but it’s also used in a wide range of industrial and DIY applications—including prepping metal.
Why acetone for metal, you ask? Well, it’s great for removing oils, grease, old paint, and other contaminants from metal surfaces, making them ready for painting, welding, or other finishing work. But, as with any substance, acetone isn’t without its limitations.
The Pros of Using Acetone for Metal Prep
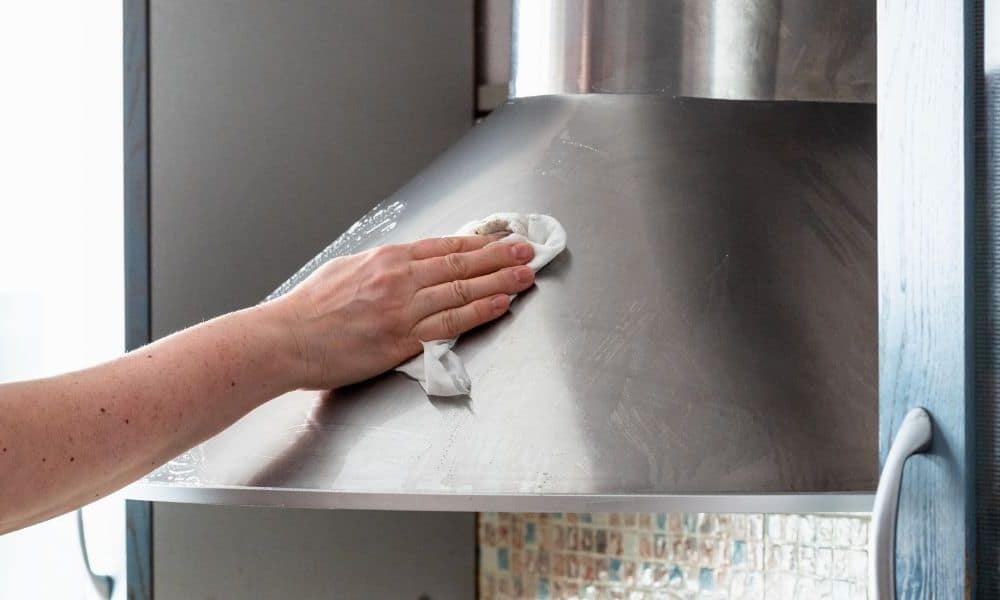
Let’s start with the good stuff. Acetone has some serious benefits when it comes to prepping metal surfaces. Here’s why I keep a bottle handy in my garage:
1. Powerful Degreaser
One of the main reasons I love acetone is its ability to cut through grease like a hot knife through butter. When you’re working with metal, oil and grease are common enemies, especially if the metal has been handled often or stored in less-than-ideal conditions. Acetone breaks down these oily contaminants, leaving the metal squeaky clean.
2. Fast Evaporation
Here’s something I didn’t fully appreciate until I started working with acetone—its quick evaporation rate. Unlike some other cleaners that leave a residue or take forever to dry, acetone evaporates almost instantly. This means you can get right to the next step of your project without waiting around for the metal to dry.
3. Safe on Most Metals
I’ve used acetone on a variety of metals, from steel to aluminum, and it’s never let me down. It’s a safe choice for most metal surfaces, making it a versatile option for DIYers and professionals alike.
4. Effective Paint Removal
Acetone doesn’t just clean; it also removes old paint. If you’re refinishing or repainting a piece of metal, acetone can help you strip off the old layers, making the surface fresh and ready for a new coat.
5. Affordable and Easy to Find
Let’s face it—some of the specialty cleaners and solvents out there can get pricey, but acetone is relatively cheap and easy to find. You can pick up a bottle at your local hardware store or even at some larger grocery stores. It’s a cost-effective solution that gets the job done without breaking the bank.
The Cons of Using Acetone for Metal Prep
Of course, acetone isn’t all sunshine and rainbows. There are a few downsides you should consider before making it your go-to metal prep tool. From my own experience, here are the things to watch out for:
1. Highly Flammable
First and foremost, acetone is extremely flammable. If you’re using it, especially in large quantities, you need to be mindful of your surroundings. Keep it away from open flames, sparks, or anything that could ignite it. I always make sure I’m working in a well-ventilated area and have fire safety gear close by, just in case.
2. Strong Odor
Acetone isn’t exactly pleasant to smell. It has a strong, distinct odor that can fill up your workspace in no time. If you’re working in a small, enclosed space, the fumes can become overwhelming.
I’ve found that wearing a mask and keeping windows open helps, but it’s still something to consider if you’re sensitive to strong smells.
3. Can Dry Out Surfaces
While acetone does a great job of cleaning, it can also be a bit too effective. I’ve noticed that it sometimes dries out surfaces, especially if the metal has any sort of protective coating. If you’re dealing with delicate metals or surfaces with a finish you want to preserve, use acetone with caution.
4. Potential Skin Irritant
This one is important: acetone can be harsh on your skin. I’ve accidentally gotten some on my hands before, and let me tell you, it wasn’t pleasant. Acetone can cause dryness, irritation, and even chemical burns if you’re not careful. Always wear gloves when handling it, and make sure to wash your hands thoroughly if you come into contact with it.
Also read: How to Safely Use Acetone on Frosted Glass
Best Practices for Using Acetone on Metal
Now that we’ve covered the pros and cons, let’s talk about how to use acetone the right way. After years of trial and error, here are some best practices I’ve picked up that can help you get the most out of your acetone experience.
1. Clean the Surface First
Before you dive in with acetone, make sure to remove any loose dirt, dust, or debris from the metal surface. I usually give it a quick wipedown with a clean cloth or a soft brush to get rid of any particles that could interfere with the cleaning process.
2. Use in a Well-Ventilated Area
As I mentioned earlier, acetone has a strong odor and can be dangerous if inhaled in large amounts. I always make sure to use it in a well-ventilated space—preferably outdoors. If you’re working indoors, open windows and use a fan to keep fresh air circulating.
3. Wear Protective Gear
You might think acetone is harmless because it’s in nail polish remover, but trust me—it’s stronger than you think. Always wear gloves to protect your skin, and consider wearing safety goggles to prevent any accidental splashes from getting in your eyes. A mask or respirator is also a beneficial idea to avoid breathing in too many fumes.
4. Apply with a Clean Cloth or Brush
I like to use a clean, lint-free cloth or a soft-bristle brush to apply acetone to metal surfaces. Dip the cloth or brush in the acetone and gently scrub the surface. You’ll see the grease, oil, or paint lift right off. Just be sure to keep the cloth or brush clean, especially if you’re dealing with heavy grime.
5. Rinse or Wipe Down After
After you’ve cleaned the metal with acetone, I recommend wiping it down with a clean, dry cloth to remove any residue. If the surface is particularly delicate, you might want to give it a light rinse with water to neutralize any remaining acetone.
When Acetone Isn’t the Right Choice
While acetone is excellent for a lot of metal prep tasks, there are a few situations where I’d recommend using a different product. If you’re working with particularly delicate or antique metals, or if the metal has a specialized finish you want to preserve, acetone might be too harsh. In those cases, you might want to opt for a gentler solvent like mineral spirits or a specialty cleaner.
Conclusion: Is Acetone Right for Your Metal Prep?
So, should you use acetone to prep metal? In my experience, it’s an excellent option for most metal surfaces, especially when you’re dealing with grease, oil, or old paint. It’s powerful, fast-evaporating, and cost-effective. Just be mindful of its limitations—mainly its flammability, strong odor, and potential to irritate skin.
If you follow the best practices I’ve shared here, you’ll be able to use acetone safely and effectively to prep your metal surfaces for painting, welding, or whatever project you’ve got going on. So grab that bottle, gear up, and get ready to make your metal shine like new!

