Can You Use Paint Thinner to Clean Metal before Painting?
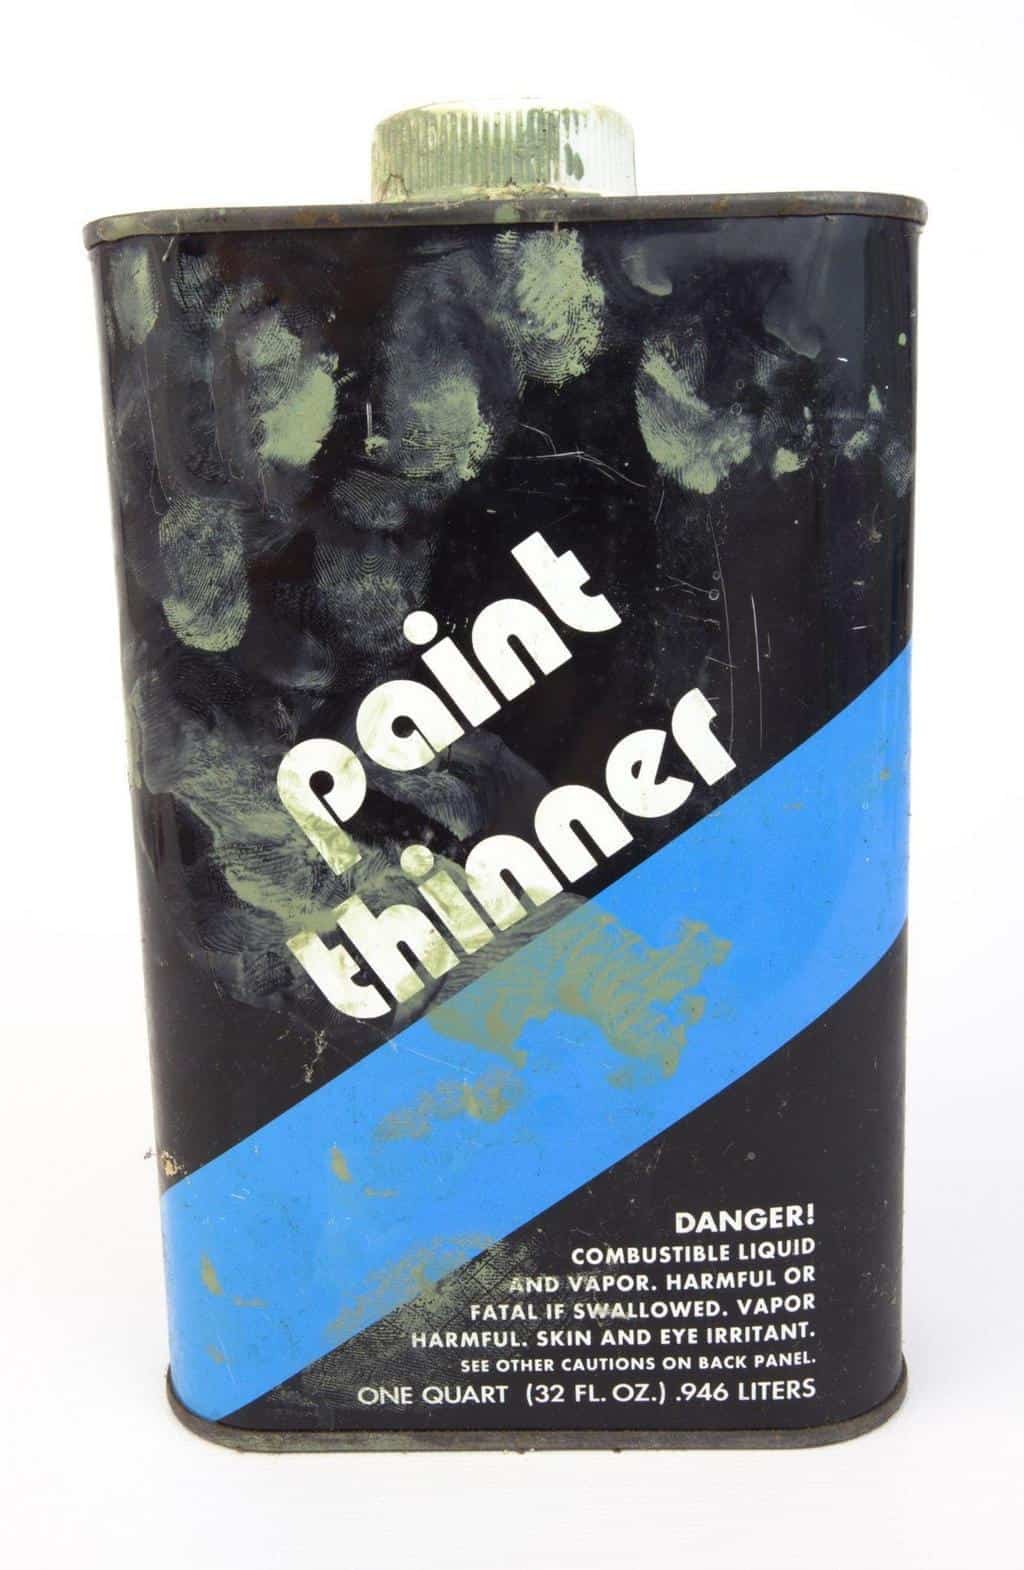
If you’re planning on painting a metal surface, you probably already know that preparing the surface is essential to achieving a smooth and even finish. But with so many cleaning products and methods available, it can be challenging to know which one to use.
One option that comes to mind is paint thinner, a solvent used to thin oil-based paints and clean painting tools. But can you use paint thinner to clean metal before painting?
In this article, we’ll look into the answer to this question and give you tips on how to use paint thinner safely and effectively. So, whether you’re a DIY enthusiast or a professional painter, read on to learn more about the role of paint thinner in metal surface preparation.
Understanding Paint Thinner and Its Type
Paint thinner is a solvent used to thin oil-based paints and clean painting tools such as brushes and rollers. It is a mixture of chemicals that is made to break down and thin paint, making it easier to spread on a surface.
In addition to thinning paint and cleaning painting tools, paint thinner has several other uses in painting projects. It can be used to remove paint from surfaces such as metal or wood, as well as to clean and degrease surfaces before painting. Some paint thinners also contain rust inhibitors, which can help prevent rust from forming on metal surfaces.
Paint thinner is an essential tool for any painting project, but it is important to understand the different types of paint thinner and their unique properties.
There are several types of paint thinner, each with its own specific use. The most common type is mineral spirits, which is a petroleum-based solvent that is used to thin oil-based paints and clean up any spills or drips. Mineral spirits are also used to clean brushes and other painting tools, making them an essential component of any painting project.
Another type of paint thinner is acetone, which is a strong solvent that is used to dissolve many types of paint, including oil-based paints and varnishes. Since acetone evaporates quickly, it can be used to clean painting tools and get surfaces ready to be painted.
Paint thinner is also available in water-based formulas, which are less toxic than petroleum-based solvents. These water-based solvents are ideal for thinning latex paint and cleaning up any spills or drips.
The composition of paint thinner varies depending on the type of solvent. Most hydrocarbons, like benzene, toluene, and xylene, are found in petroleum-based solvents, while glycols and ethers are found in water-based solvents.
Can You Use Paint Thinner to Clean Metal before Painting?
It’s important to clean metal surfaces before painting them so that the paint sticks well and the finished product looks good. While there are various methods to clean metal surfaces, many people wonder if they can use paint thinner for this purpose.
The answer is yes, paint thinner can be used to clean metal surfaces before painting, but it is essential to understand how to use it correctly and safely.
Paint thinner is designed to dissolve and thin paint, not to remove dirt and grime. If you try to clean metal with paint thinner alone, you may not get the surface completely clean.
Why Using Paint Thinner Isn’t the Best Choice for Cleaning Metal Surfaces
While paint thinner can be an effective solvent for thinning oil-based paints and cleaning up painting tools, it’s not the best choice for cleaning metal surfaces before painting. There are several reasons why paint thinner isn’t ideal for this purpose.
- Paint thinner is designed to dissolve and thin paint, not to remove dirt, grime, or other contaminants from metal surfaces. When used on its own, it may not be able to effectively remove all the dirt and grime on the surface, leading to a less-than-ideal painting surface. Additionally, it may not be able to remove oily residues, which can lead to problems with paint adhesion.
- Paint thinner can harm some metals, such as zinc and aluminum, because they are highly reactive. Before using paint thinner to clean metal surfaces, it is essential to identify the type of metal being cleaned.
- Paint thinner is highly flammable and poses a significant safety risk when used improperly. This solvent should be used with caution and proper safety equipment, including gloves and respirators. It is important to follow the manufacturer’s safety instructions and dispose of the used thinner according to local regulations.
- Finally, using paint thinner to clean metal surfaces can be harmful to the environment. Paint thinner is made from a mixture of organic solvents that can be toxic to plants and animals if they are released into the environment. It’s important to dispose of used paint thinner properly and avoid using it unnecessarily to protect the environment.
Instead of using paint thinner, it’s recommended to use a dedicated metal cleaner or degreaser to prepare metal surfaces for painting. These products are specifically designed to remove dirt, oil, grease, and other contaminants from metal surfaces, leaving them clean and ready for painting.
Using these products can ensure that the surface is thoroughly cleaned and free from any contaminants that could interfere with paint adhesion.
How to Clean Metal Before Painting
When it comes to cleaning metal before painting, there are a few steps you should follow:
- Remove any loose paint or rust. Before you can clean the metal surface, you need to get rid of any loose paint or rust. Use a wire brush or sandpaper to remove any peeling or flaking paint, and use a rust remover to get rid of any rust.
- Clean the surface. Once you’ve removed any loose paint or rust, it’s time to clean the surface. Use a metal cleaner or degreaser to remove any dirt, oil, grease, or other contaminants from the surface. Follow the manufacturer’s instructions for best results.
- Rinse the surface thoroughly. After cleaning the surface, rinse it thoroughly with water to remove any remaining cleaner or degreaser.
- Dry the surface completely. Use a clean, dry cloth to dry the surface completely. Make sure there is no moisture left on the surface before you start painting.
- Apply primer. Once the surface is clean and dry, it’s time to apply primer. This will help the paint adhere to the surface and provide a smooth, even finish. Follow the manufacturer’s instructions for best results.
- Paint the surface. After the primer has dried, it’s time to paint the surface. Use a high-quality paint that is designed for metal surfaces, and follow the manufacturer’s instructions for best results.
Common Mistakes to Avoid When Preparing Metal Surfaces for Painting
Preparing metal surfaces for painting is a crucial step in ensuring a high-quality finish. However, there are common mistakes that people make during this process that can lead to paint failure or an unsatisfactory result. By knowing what these mistakes are, you can avoid them and achieve a professional-looking finish.
1. Not Cleaning the Surface Properly
One common mistake is not cleaning the surface properly. Before painting, it’s essential to remove any dirt, grime, rust, or other contaminants that may be present on the surface. Failing to do so can result in poor adhesion, uneven paint coverage, or paint failure. It’s recommended to use a dedicated metal cleaner or degreaser to ensure that the surface is thoroughly cleaned before painting.
2. Inadequate Sanding of the Surface
Another mistake is not sanding the surface adequately. Sanding the surface helps create a rough texture that the paint can adhere to. If the surface is not sanded enough or is sanded too much, it can affect the adhesion and the appearance of the finish. It’s recommended to follow the manufacturer’s instructions for sanding and use the appropriate grit of sandpaper.
3. Using the Wrong Type of Primer
Using the wrong type of primer can also be a mistake when preparing metal surfaces for painting. It’s important to use a primer that is specifically designed for metal surfaces. Using the wrong primer can lead to poor adhesion or paint failure. It’s also important to apply the primer correctly, following the manufacturer’s instructions for the appropriate number of coats and drying time.
4. Not Waiting to Dry before Painting
Another common mistake is not allowing enough time for the surface to dry before painting. Metal surfaces can be prone to rusting if they are not properly dried. It’s important to follow the manufacturer’s instructions for drying time before painting. Additionally, it’s important to avoid painting in humid or damp conditions, as this can also affect the drying time and the quality of the finish.
5. Not Protecting Surrounding Areas
Failing to protect surrounding areas during the painting process can also be a mistake. It’s important to use drop cloths, painter’s tape, or other protective measures to prevent paint from getting on surrounding surfaces. This can save time and effort in the long run by avoiding the need to clean up unwanted paint.
Conclusion
While paint thinner can be effective for thinning paint and cleaning up painting tools, it’s not the best choice for cleaning metal surfaces before painting. Instead, use a dedicated metal cleaner or degreaser to prepare metal surfaces for painting. By following the steps outlined in this article, you can ensure that your metal surfaces are properly prepared for painting, resulting in a smooth, even finish that will last for years to come.

